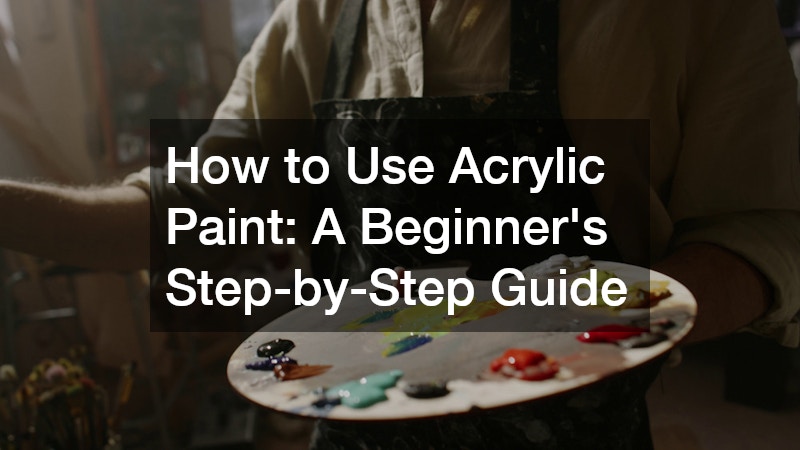
How to Use Acrylic Paint: A Beginner’s Step-by-Step Guide

Acrylic paint is one of the most popular paints for beginners and professional artists alike. It’s affordable, easy to use, quick-drying, and works on many surfaces. Whether you’re painting on canvas, wood, or paper, learning how to use acrylic paint opens the door to endless creativity.
In this guide, you’ll learn everything you need to know to get started, including materials, basic techniques, and tips to make your painting process easier and more fun.
What Is Acrylic Paint?
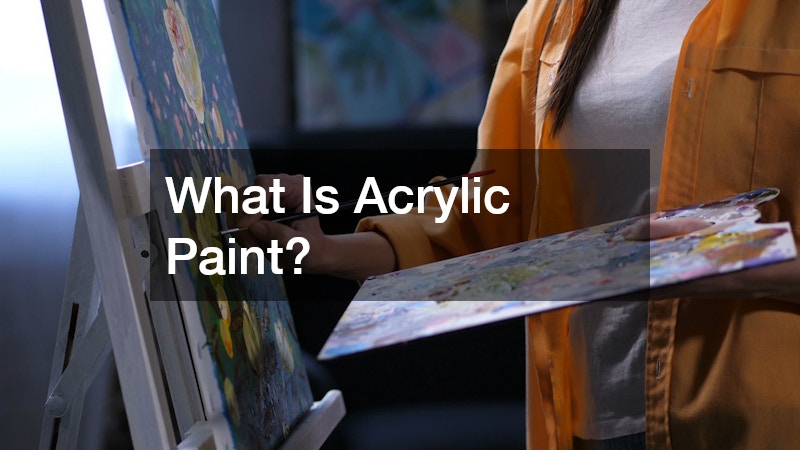
Acrylic paint is a fast-drying paint made from pigment and acrylic polymer emulsion. It’s water-based, which means you can thin it with water and clean your brushes easily. Once dry, it becomes water-resistant and long-lasting.
Why Choose Acrylic Paint?
- Dries quickly – You can layer and finish projects faster.
- Versatile – Works on canvas, paper, wood, fabric, and even glass.
- Affordable – Great for beginners and hobby painters.
- Easy cleanup – Just use soap and water while it’s still wet.
Supplies You’ll Need
Before you start painting, gather the right tools:
1. Acrylic Paints
Start with a basic set of colors: red, yellow, blue, black, and white. You can mix these to create almost any shade.
2. Paintbrushes
Choose brushes in different sizes and shapes. Flat brushes cover large areas; round ones are good for details.
3. Palette
Use a plastic, paper, or wood palette to mix your colors.
4. Water Container
You’ll need this to rinse brushes between colors.
5. Rag or Paper Towels
Keep these nearby to blot your brush or clean up messes.
6. Painting Surface
You can paint on canvas, acrylic paper, wood panels, or even cardboard.
7. Easel (Optional)
An easel helps hold your surface steady and at a good angle.
How to Prepare Your Painting Surface
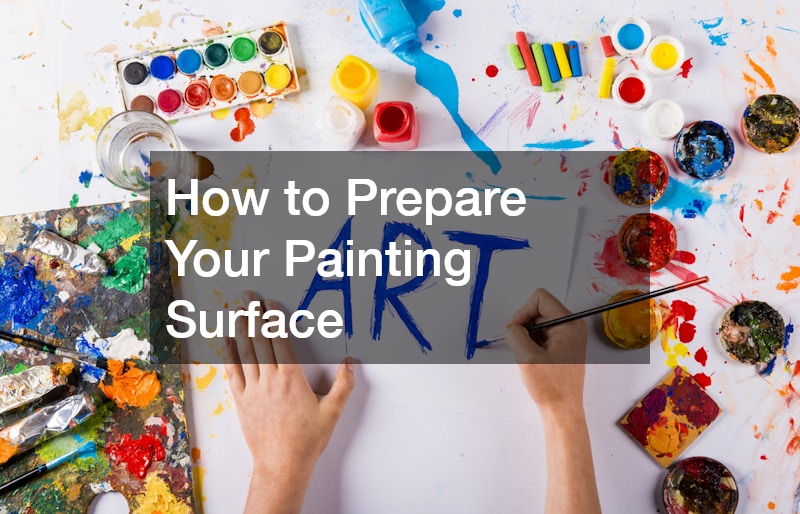
Preparing your painting surface correctly is an important step that helps your acrylic paint stick better and last longer. Different surfaces require different preparation, so knowing how to get your canvas, paper, or wood ready can make a big difference in your final artwork.
Canvas
Most canvases you buy at stores come pre-primed, meaning they already have a coating called gesso. This primer creates a smooth and slightly textured surface that helps acrylic paint adhere well. If your canvas isn’t pre-primed, or if you want extra protection, you can apply one or two coats of gesso yourself. Simply brush or roll it on and let it dry completely before painting. This prevents the paint from soaking into the fabric and keeps your colors bright.
Paper
When painting on paper, choose heavy-weight acrylic or mixed-media paper designed to handle wet paint. Regular paper may buckle or tear when wet. Thicker paper resists warping and holds the paint better. You can also prime your paper with gesso for a smoother surface and added durability.
Wood
Wood is a popular surface for acrylic painting, but it needs more prep. Start by sanding the wood smooth with fine-grit sandpaper to remove rough patches. Then, apply several coats of gesso, letting each dry before applying the next. This seals the wood and gives you a clean, paint-ready surface that prevents the paint from soaking in unevenly.
How to Use Acrylic Paint: Step-by-Step
Using acrylic paint is fun and rewarding, especially once you know the right steps to follow. Here’s a simple guide to help you get started and create beautiful artwork with ease.
Step 1: Set Up Your Space
Choose a spot with plenty of natural or bright light so you can clearly see your colors and details. Good airflow is important too because acrylic paint dries quickly and the smell can build up in a closed room. Cover your work surface with newspapers, plastic sheets, or a drop cloth to protect it from spills and splatters. Set out all your materials—paint, brushes, water cup, palette, and paper towels—within easy reach.
Step 2: Choose Your Colors
Start with just two or three colors to keep things simple. You can always mix these basic colors on your palette to create new shades and tones. This is a great way to practice blending and learn how colors work together. Remember, acrylics dry darker than when wet, so keep that in mind when mixing your colors.
Step 3: Sketch Your Idea (Optional)
If you want a guide, lightly sketch your design on your canvas or paper using a pencil. Don’t press too hard, as you want the lines to be easy to cover with paint. This step is optional but helps with accuracy and planning your composition.
Step 4: Start Painting the Background
Use larger brushes to cover big areas first, like the background or base colors. Apply paint in thin layers and allow each layer to dry before adding the next. This prevents muddy colors and keeps your painting vibrant. Acrylic paint dries fast, so you won’t have to wait long.
Step 5: Add Details
Switch to smaller brushes for finer details like outlines, highlights, and textures. Take your time to build up these details slowly. Layering different colors can add depth and make your painting more interesting.
Step 6: Let It Dry
Acrylic paint usually dries in 10 to 30 minutes depending on thickness and humidity. Once dry, you can add more layers, fix mistakes, or sharpen edges. If you want a glossy finish, consider adding a clear acrylic varnish once your painting is completely dry.
Basic Techniques to Learn
Learning a few basic acrylic painting techniques will help you get the most out of your paint and create interesting effects in your artwork.
Blending
Blending means mixing two wet colors directly on your canvas or paper to create smooth color transitions. To do this, apply one color, then quickly add the second color next to it while both are still wet. Use a clean brush or a soft, gentle stroke to blend the edges where the colors meet. Because acrylic paint dries fast, you need to work quickly before it dries to get a smooth blend. This technique is great for painting skies, shadows, or soft gradients.
Dry Brushing
Dry brushing uses a mostly dry brush with just a little paint on it. Instead of smooth coverage, it creates a rough, scratchy texture that can highlight details or add interest to your painting. It works well for adding highlights, texture on wood, grass, or fur, and for creating a sense of movement.
Dabbing
Dabbing involves using a sponge, cloth, or crumpled paper towel to lightly press paint onto your surface. This creates a textured, mottled effect perfect for foliage, clouds, or stone. You can layer different colors using this method for a rich, natural look.
Layering
One of acrylic paint’s best features is how quickly it dries. This lets you paint over dried layers without mixing colors unintentionally. Layering allows you to build depth, adjust colors, or fix mistakes easily.
Washes
A wash is a thin, transparent layer of paint made by adding water to your acrylics. It’s perfect for soft backgrounds or shading because it lets the surface or previous layers show through. Use washes to create gentle tones and subtle effects.
Tips for Better Painting
- Keep your brushes clean – Rinse them often to avoid muddy colors.
- Mix enough paint – It’s hard to match an exact color again.
- Use a spray bottle – Mist your palette to keep paints from drying out too fast.
- Practice brush control – Try different strokes and pressures on scrap paper.
How to Clean Up
Clean your brushes with warm water and soap right after painting. Don’t let acrylic paint dry on your brushes—it’s very hard to remove.
Wipe your palette and rinse out your water container. Store brushes flat or bristle-up in a container.
Sealing Your Acrylic Painting
If you want to protect your painting, apply a clear acrylic varnish once it’s dry. This adds a slight shine and helps preserve the colors.
There are two main types:
- Glossy finish – Shiny and vibrant
- Matte finish – Smooth and non-shiny
Make sure to use varnish made for acrylics and follow the directions carefully.
Fun Acrylic Paint Project Ideas
Here are a few beginner-friendly painting ideas to try:
- A colorful sunset or sky
- A field of flowers
- A simple animal silhouette
- Abstract patterns using your favorite colors
- Geometric shapes with masking tape
Common Mistakes Beginners Make
- Using too much water – It can make the paint runny or warp paper.
- Not letting layers dry – Can lead to smudging and muddy colors.
- Painting with dry brushes – Unless you’re doing dry brushing, wet your brush slightly before use.
- Skipping surface prep – Always use gesso if your surface isn’t pre-primed.
What If You Want to Paint Over an Old Painting?
Acrylic makes this easy. Just paint over the old work with white acrylic or gesso, let it dry, then start your new painting. This is also a great way to recycle canvas or correct mistakes.
Can You Mix Acrylic with Other Media?
Yes! You can combine acrylics with:
- Colored pencils – For outlines or shading
- Markers – After the paint dries
- Texture paste – For raised effects
- Collage elements – Like paper or fabric
Experimenting with mixed media can add new life and dimension to your artwork.
How Long Does Acrylic Paint Last?
Acrylic paint can last for years if stored properly. Keep the lids tightly closed and store in a cool, dry place. If the paint dries out in the tube or jar, it can’t be reused.
Final Thoughts
Learning how to use acrylic paint is fun, easy, and a great way to express your creativity. Start small, use the right tools, and don’t worry about being perfect. The more you paint, the better you’ll get.
Acrylics offer endless possibilities—from realistic landscapes to abstract designs. With time, you’ll find your own unique style and enjoy the process of creating something from scratch.
Need a place to start? Try painting a simple flower or your pet’s silhouette. Once you get the hang of it, you can explore more complex projects.
Happy painting!